

Introduction
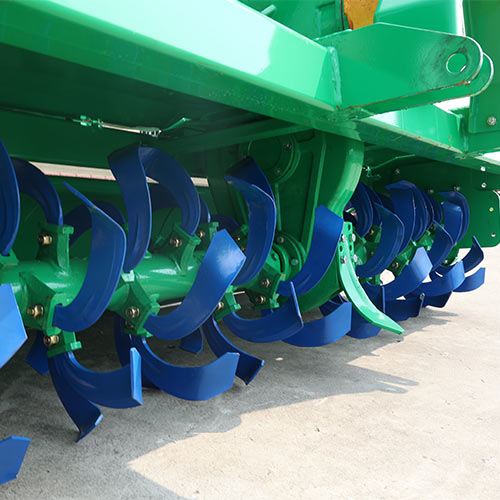
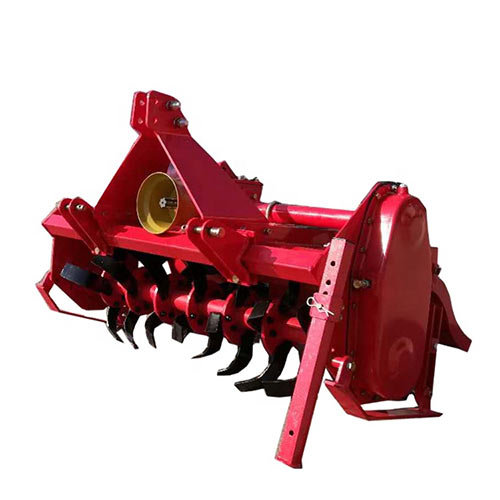
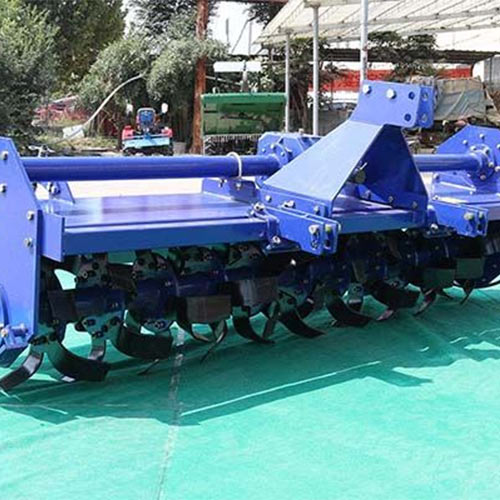
A rotary tiller, also known as a rotavator, is a powered machine with rotating tines or blades attached to a horizontal shaft that is used for breaking up and loosening soil. Effective use of a rotary tiller can greatly improve your soil and help prepare it for planting. This blog post will provide guidance on how to use a rotary tiller properly to maximize its benefits for your soil.
Selecting the Right Rotary Tiller
The first key step is choosing the right rotary tiller for your needs. There are several factors to consider when selecting a rotary tiller:
- Tine/Blade Size – Larger rotary tillers with wider tines are ideal for tackling heavier, compacted soils due to their increased power and ability to penetrate deep into the ground. These robust machines excel at breaking up tough soil clumps and effectively mixing in amendments or organic matter. However, their size and power may make them cumbersome or overkill for small garden plots or areas with limited space.
- Power – When deciding between gasoline-powered or electric rotary tillers, it’s essential to weigh the advantages and disadvantages of each based on your specific needs and preferences. Gasoline-powered tillers typically offer more power, making them well-suited for larger areas or tougher soil conditions. Their robust engines can handle heavy-duty tilling tasks with ease, making them ideal for agricultural or landscaping projects covering extensive ground.
- Tilling Width – Instead of focusing solely on width, consider the layout of your garden or planting area and choose a tiller width that allows for easy navigation and access to all sections. Opting for a narrower tilling width might be more practical and effective, enabling you to till the soil thoroughly and evenly without encountering obstacles or maneuverability issues.
- Extra Features – Transport wheels are another beneficial feature to look for, especially if you need to move the tiller between different areas or storage locations. These wheels make it easier to transport the tiller without exerting excessive physical effort, particularly when navigating uneven terrain or longer distances.
Proper Soil Preparation
Once you have the right rotary tiller, proper soil preparation is key for best results. Here are some tips:
- Remove any debris from the soil surface like rocks, sticks or plant material.
- For new garden areas, kill existing weeds and grass by covering with a thick layer of cardboard or newspapers for 2-4 weeks before tilling.
- Till when the soil is dry enough to crumble easily but not powder dry. Moist soil is ideal.
- Make shallow first passes with the tiller at a depth of only 2-4 inches. Gradually increase depth with subsequent passes.
- Work in sections, tilling one area fully before moving to the next. Overlap passes slightly for thorough mixing and aeration.
- In clay soils, till when soil is slightly moist then allow it to dry fully before final seed/planting. This breaks up clay clumps.
Proper soil preparation using a rotary tiller helps create the ideal loose, porous soil texture for optimal plant growth. Taking time with initial tilling pays off.
Rotary Tiller Size Guide
| Tiller Size | Recommended Area | Suitable Applications |
|---|---|---|
| Small | Garden plots, small farms | Home gardening, landscaping |
| Medium | Medium-sized farms, orchards | Commercial farming, orchard management |
| Large | Large-scale farms, fields | Heavy-duty agricultural operations |
Effective Tilling Techniques
Here are some effective tilling techniques to help you get the most from your rotary tiller:
- Work at a steady, moderate pace in straight, parallel passes across the garden area.
- Adjust tilling depth based on soil needs – deeper for compacted soil, shallower for lighter soil.
- Periodically check tilled soil texture by squeezing a handful. It should crumble easily, not form clumps.
- For large areas, make your final pass at a shallow depth just to level the soil surface.
- In raised beds, till the bottom fully then run the tiller along the sides to break up side soil.
- For heavy clay, allow it to dry after initial tilling then do a second pass when slightly moist.
- Avoid over-tilling which can damage soil structure. One or two passes at the right depth is usually sufficient.
Following basic tilling techniques helps you efficiently prepare soil using your rotary tiller without overworking the soil. Taking the time for proper technique pays off in healthy soil.
Conclusion
When used correctly, a rotary tiller is an invaluable tool for breaking up compacted soil, mixing in amendments, and preparing the perfect seedbed. Taking time to select the right size tiller for your needs, properly prepare the soil, and follow basic tilling techniques will allow you to efficiently improve your soil quality using this powerful machine. With a rotary tiller on hand, you’ll be ready to plant your best garden yet. Just be sure not to over-rely on tillage – the occasional no-till method gives your soil microbes a break too. Always practice sustainable soil stewardship for healthy, productive dirt year after year.
FAQs
Q: Can I till when the soil is too wet?
A: No, tilling wet soil can damage its structure. Wait until it’s moist but not soaked.
Q: How often should I till my garden soil?
A: Ideally only once or twice per season, in spring and fall. Over-tilling damages soil health.
Q: Can I till too deep?
A: Yes, tilling deeper than 6-8 inches can harm soil organisms and structure. Stick to shallow depths.
Q: When is the best time to aerate clay soil?
A: Early spring when it’s slightly moist but not soaked. Allow to dry fully before planting.
Q: How do I prevent clogging issues?
A: Remove debris before tilling and don’t overload the tiller. Clear clogs right away to prevent damage.